

Stand at your sink for ten minutes tonight. Rinse a pot. Load a plate. Wipe the counter.
If any of that felt like a fight, the sink is probably to blame.
The sink is the busiest square foot in the whole kitchen. Everything passes through it — dirty dishes, rinsed vegetables, hot pans, hands. And when its placement, size, or fixtures are off by a few inches, you feel it every single day without ever quite naming why.
Most of these mistakes get locked in the moment the countertop gets cut. The sink is fused to the counter, which makes it the hardest fixture to fix later. So the time to get it right is before the hole gets drilled.
Here are 24 sink mistakes that quietly make the entire kitchen harder to use — and what to do instead.
1. Banishing the Sink to a Corner

It seems clever at first. Push the sink into a corner and you free up counter and make room for the range.
Then you actually stand there. Your elbows hit the walls on both sides, and there’s nowhere to set anything down while you scrub.
A corner sink cramps the one spot you use most. According to Advantage Contracting, poorly placed sinks are one of the most common layout regrets homeowners report after a remodel.
Give the sink a wall with room on both sides. Your shoulders will thank you.
If the corner is the only place the plumbing allows, at least angle the cabinet so you face into the room, and leave a full 36 inches of clear floor in front of it. A corner sink with a window still beats a corner sink staring at a wall.
2. Leaving No Landing Counter on Either Side

Cleanup needs two zones. A dirty side where plates pile up, and a clean side where washed things drain and dry.
Take away either one and the whole counter turns into a staging disaster.
Designers push for a decent stretch of open counter flanking the basin — usually at least 18 inches on one side and 24 on the other. That’s not luxury. That’s the minimum for cleanup to have somewhere to go.
Skip it and dishes creep across the stove, the island, everywhere.
The old rule of thumb is 24 inches on one side and 18 on the other, with the longer run on the dishwasher side. If you only have one side to work with, make it the one closest to the stove, since that is where the wet pots and rinsed vegetables are headed.
3. Squeezing the Prep Zone Between Sink and Stove

The counter between the sink and the cooktop is your main runway. Rinse, chop, slide it to the heat.
Cut that stretch too short and every meal becomes a detour. You end up carrying a cutting board across the room just to have somewhere to work.
Homes & Gardens recommends at least four feet of prep counter between the two. Anything less and the busiest part of cooking has no home.
This is the counter you use for everything. Protect it.
A prep zone needs room for a cutting board and the bowl of scraps beside it, which means 36 inches is comfortable and 24 is the floor. If the gap is smaller than that, move the prep to the other side of the sink and let the stove side stay clear for landing hot pans.
4. Putting the Dishwasher Across the Room

The sink and the dishwasher are one station, not two. You rinse a plate and load it in a single motion — or you should be able to.
Split them up and you’re carrying dripping dishes across the floor every night. Water on the tile. A trail of drips.
Keep the dishwasher within arm’s reach of the sink, ideally right beside it. The rinse-and-load rhythm only works when they’re neighbors.
A few extra steps per plate adds up to miles by the weekend.
The dishwasher belongs within one step of the sink, on the side where your dominant hand naturally swings. Right-handed cooks usually want it on the left so they can rinse with the right hand and load with the left without crossing over.
5. Keeping the Trash and Disposal Out of Reach

Scraping plates only works if the bin is right there. Move the trash pull-out even a couple feet away and the habit falls apart.
You end up scraping over the counter, or worse, not scraping at all and clogging the drain.
The bin, the disposal, and the sink all belong in the same tight cluster. That’s the cleanup triangle within the work triangle.
Put the trash where the mess is made.
A pull-out trash cabinet directly under or beside the sink saves the two-step walk a hundred times a day. If the disposal is in the far bowl, you end up scraping plates over the clean side. Put the disposal in the bowl nearest the dishwasher.
6. Buying a Sink Too Small for Your Cookware

Nobody ever complains their sink is too big.
But an undersized basin can’t fit a roasting pan or a stockpot, so it stays permanently cluttered with the one dish that won’t lie flat. Everything backs up behind it.
Before you buy, measure your biggest sheet pan. Remodelista suggests sizing the sink to your largest cookware, not to the counter.
If your favorite pan can’t lie down in the bowl, the sink is too small.
Measure your largest sheet pan and roasting pan before you shop. A 30-inch single bowl handles a half-sheet pan flat; a 25-inch double bowl handles neither. If the cabinet only fits a smaller sink, choose one bowl over two so the space is usable.
7. Going Too Deep and Wrecking Your Back

A 10- or 12-inch basin looks luxurious in the showroom. Then you wash dishes in it for a week.
Deep bowls force you to hunch over the edge for every rinse. Shorter cooks and anyone with back trouble feel it fast.
The sweet spot is 8 to 9 inches. Deep enough to hide a stockpot, shallow enough that you’re not bending double at the counter.
Depth is a comfort decision, not a looks decision. Treat it that way.
Eight to nine inches is deep enough to hide dishes and rinse a stockpot without hunching. Ten inches and up pays off only for tall users or an undermount on a thick counter. Try the depth in a showroom with your hands on the bottom before you commit.
8. Picking a Sink So Shallow It Splashes
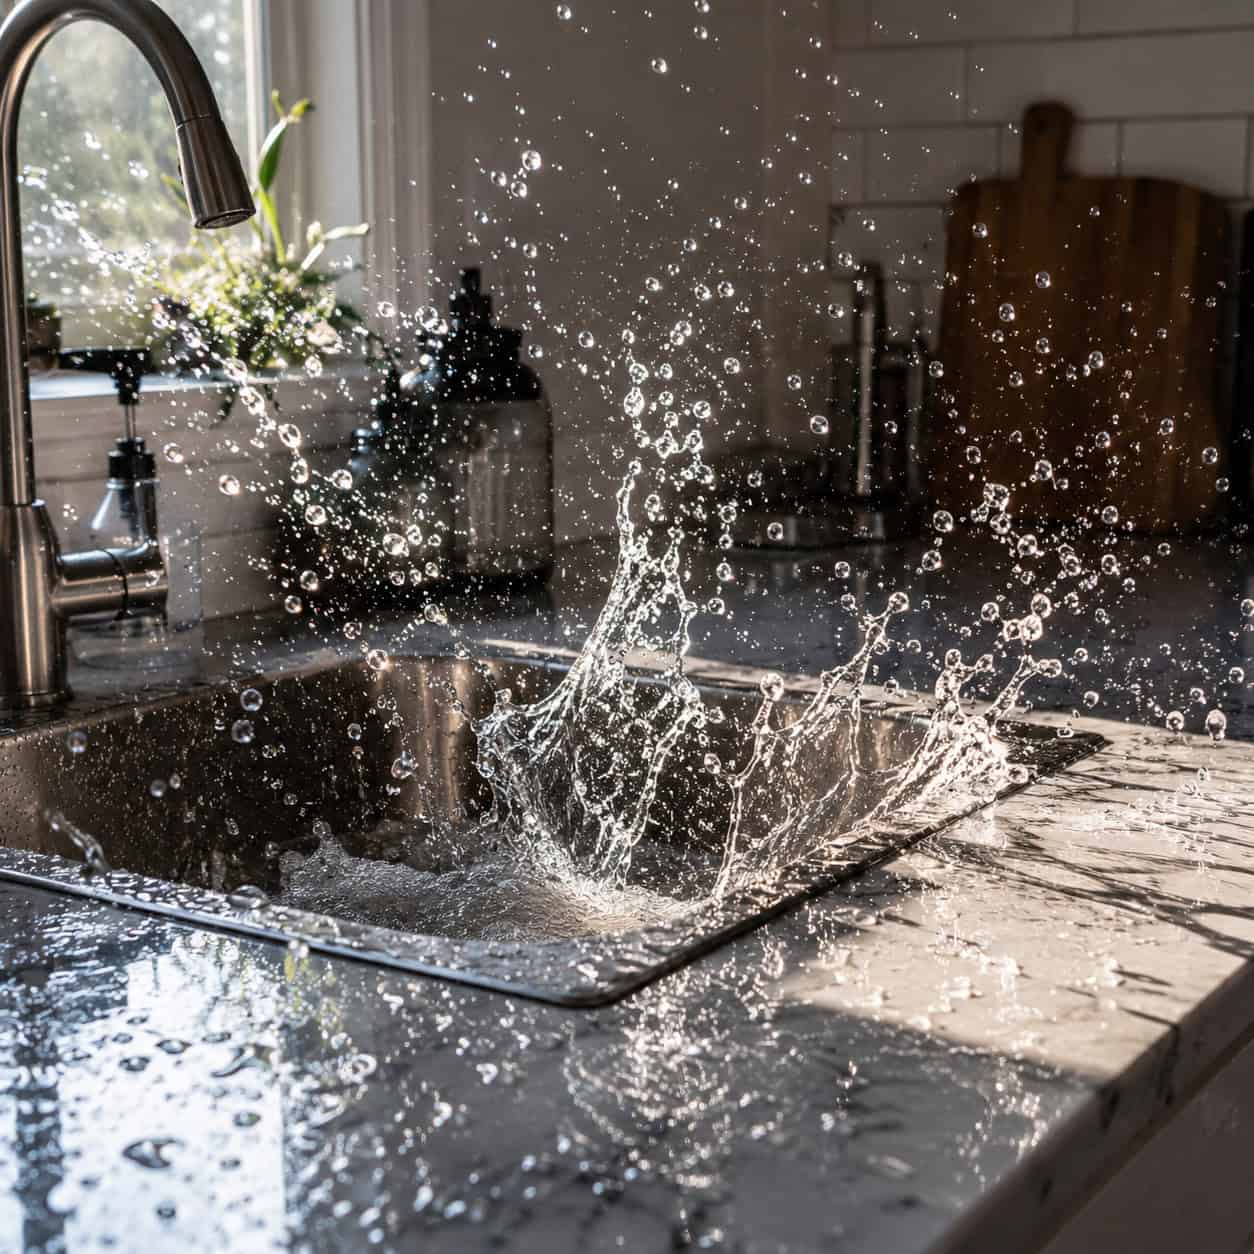
Go the other direction and you get a different headache.
Basins under about 7 inches throw water right back at you. Every rinse sprays the counter, your shirt, the window.
Shallow bowls also can’t hide a stack of dishes, so the mess is always on display.
Stay in that 8-to-9-inch range and you dodge both problems — the hunching and the splashing.
Six inches of depth with a strong faucet spray is a recipe for a wet shirt and a wet floor. If you inherited a shallow sink, swap to a faucet with an adjustable spray pattern and point the stream at the sloped side of the bowl instead of straight down.
9. A Divider That Blocks Every Big Pan

Double bowls promise you can wash on one side and rinse on the other. Sounds efficient.
But a full-height center divide means neither side fits a roasting pan or a cookie sheet. The “bigger” sink somehow holds less.
If you want two bowls, look for a low-divide design where the partition stops a few inches short. Then big cookware can lie across the top.
Otherwise a single large bowl beats a divided one for anyone who cooks with real pans.
A low divider, sometimes sold as a smart divide, sits a few inches below the rim and lets a sheet pan span both bowls while still giving you two basins. An offset 60/40 split is the other fix, with one bowl big enough for the roasting pan and a small one for rinsing.
10. Sticking With a Center Drain

A center drain drops the P-trap and plumbing dead-center in the cabinet below — exactly where you’d want to stack bins and cleaning supplies.
It also leaves a puddle sitting over the drain while you work, because everything slopes toward the middle.
A rear or offset drain fixes both. Water clears faster, and the cabinet underneath opens up for storage.
It’s one of the most overlooked upgrades on the whole list. Ask for it before the sink is picked.
Rear-set drains leave the plumbing at the back of the cabinet, which frees up most of the base cabinet for a pull-out or the trash can. They also let water run under a stack of dishes instead of pooling under them. Most new undermount sinks offer the option.
11. A Faucet Spout That Can’t Reach the Corners

A short spout only wets the center of the basin. The corners stay grimy no matter how long you run the water.
The fix is a matter of reach. A good rule: spout reach should hit at least two-thirds of the sink’s width.
For big or double basins, look for 9 to 10 inches of reach so the stream actually lands where the mess is.
A faucet that can’t reach the corners isn’t cleaning the sink. It’s cleaning one spot.
The spout should reach at least to the center of each bowl, and a pull-down head covers the rest. Measure the distance from the faucet hole to the bowl center before buying, since a short spout on a wide sink leaves the corners dry and the counter wet.
12. A Tall Gooseneck That Hits the Window or Cabinet

High-arc faucets look great in photos. Then you install one under a window and the spout smacks the sill.
Or you mount it beneath a cabinet and can’t tilt the handle all the way up.
Measure to the obstruction first. Leave 6 to 8 inches of clearance above the spout, or go with a low-profile pull-down instead.
The prettiest faucet is useless if you can’t lift its handle.
Measure from the deck to the bottom of the window sash or the cabinet above, and compare it with the faucet height in the spec sheet, not the box. A spout in the 12-to-14-inch range clears most windows. If it will not fit, a pull-out spout with a lower arc does the same work.
13. A Low-Arc Faucet Over a Deep Sink

The opposite problem trips people up just as often.
Put a squat, low-arc faucet over a deep or farmhouse basin and there’s no room to slide a stockpot underneath. You end up tipping the pot sideways just to fill it.
Depth and arc have to be chosen together. A deep sink needs a taller spout to match.
Pick the sink and the faucet as a pair, never one at a time.
Low-arc faucets pair with shallow bar sinks and prep sinks. Over a deep main bowl they force you to tip every pot sideways to fill it. Choose a high arc or a semi-pro faucet with a pull-down head so you can fill a stockpot standing upright on the bottom of the sink.
14. Jamming the Faucet Against the Backsplash

Drill the mounting hole flush to the wall and two things break at once.
The handle gets hard to lift because the wall blocks its travel. And the gap behind the faucet becomes an impossible-to-reach grime trap.
The Higold Group recommends leaving a couple inches of breathing room between the faucet base and the backsplash.
That small gap is the difference between a faucet you can clean around and one you can’t.
A faucet handle needs room to swing back without hitting the tile. Check the handle arc in the spec sheet and leave at least two inches between the back of the sink deck and the wall. Side-mounted or front-mounted handles solve the problem when the deck is shallow.
15. Off-Centering the Faucet for a Soap Hole

Someone always shoves the faucet to one side to make room for a soap dispenser.
Now the stream misses the drain and the far side of the basin never gets rinsed.
The faucet owns the prime central spot. Accessories — soap, air gaps, sprayers — go to the edges.
Design around the water, not around the soap pump.
If the sink has a single hole and you want soap, a filtered-water tap, or an air gap, drill the counter rather than pushing the faucet to one side. A faucet off center fights you every time you rinse, because the stream lands on the sloped side instead of the drain.
16. Shoving the Sink Tight to the Back Wall

Push the sink too close to the wall and your elbows bump the backsplash every time you wash.
Cleaning the back edge gets awkward. So does reaching the plumbing when something leaks.
A few inches of setback from the wall changes daily comfort more than you’d guess. It gives your arms somewhere to go.
Small number, big difference.
Pull the sink forward an inch or two so there is a real reveal at the back. You need room to wipe behind the faucet, and a deeper front apron keeps your belt from hitting the counter edge. Template the cutout from the sink itself, not the box.
17. Retrofitting a Farmhouse Sink Without a Plan

An apron-front sink looks like a simple swap. It isn’t.
It demands a special cabinet, serious weight support, and a fresh countertop cut. Drop one into a standard base and your quick upgrade becomes a demo project.
As one installer put it, the sink isn’t the problem — the cabinet is.
Farmhouse sinks also eat under-sink storage, since the deep front apron drops lower than a standard bowl. Plan for all of it before you fall in love with the look.
A farmhouse sink needs an apron-front base cabinet, or a standard cabinet cut down and reinforced, and the counter has to be cut to match the sink’s exact profile. Plan it with the cabinet order, because retrofitting after the counters are set often means a new slab.
18. Ignoring the Cabinet Width

A sink that’s too big won’t drop in. One that’s too small leaves ugly gaps.
Either way, the sink and the base cabinet have to match, and people skip the measurement all the time.
Measure the interior width of the cabinet, then subtract 2 to 3 inches per side for clips and clearance. That number is your maximum sink size.
Order first, measure never, and you’ll be returning a very heavy box.
The rule is simple: the sink’s outside dimensions need at least three inches less than the cabinet’s interior width. A 33-inch sink wants a 36-inch cabinet. Squeeze it into a 33 and the clips have nowhere to grab and the counter cutout edges go thin.
19. A Bridge Faucet With No Sprayer

Bridge faucets and fixed-spout designs are gorgeous. They also leave you unable to rinse a big pot or flush the corners.
Without a sprayer, you’re stuck maneuvering everything under one fixed stream.
If you love the look, pair it with a separate side sprayer — and confirm the sink actually has a hole drilled for one.
Beauty is fine. Just don’t lose the rinse.
If you love the bridge look, pick a model with a matching side spray, or add a separate sprayer in a fourth hole. Without one you will be holding pots under a fixed spout and scrubbing corners with a cup of water. Style should not cost you the most-used function in the kitchen.
20. Choosing the Wrong Sink Material for How You Live

Materials behave nothing alike. Fireclay and cast iron can last decades, or chip the first day you drop a mug wrong.
Black stainless is just a PVD coating over steel. Scratch it and you can’t restore it — the finish is gone for good.
Because the sink is fused to the counter, it’s the priciest fixture to swap. Rachiele stresses matching the material to how hard you actually run your kitchen.
Pick for your real life, not the showroom photo.
Stainless hides water spots and shrugs off dropped pans. Fireclay and enameled cast iron look beautiful but chip when a heavy pot lands wrong. Granite composite resists scratches but shows hard-water haze. Match the material to how hard you are on your sink, not to the photo.
21. Lighting the Sink From Behind (or Not at All)

Overhead-only lighting drops your own shadow straight into the basin. A window behind the sink does the same at night.
So you scrub in the dark and miss the food stuck to the pan.
Task light positioned slightly in front of you fixes it — under a cabinet or a small pendant just ahead of the bowl.
It’s a big reason a sink can “feel” hard to use even when the layout is fine. You just can’t see what you’re doing.
A pendant or a pair of recessed cans centered over the sink, on their own switch, puts the light in front of you instead of behind. Under-cabinet strips help if there is a cabinet above. Aim for a warm bulb so the dishes look clean instead of gray.
22. A Drop-In Rim That Kills One-Swipe Cleanup

With an undermount, you wipe crumbs straight off the counter into the bowl. One swipe, done.
A drop-in sits on top of the counter with a raised rim, and that rim catches every crumb at the seam. Now you’re fighting a lip of gunk all day.
The regret shows up after install, not before. In the store the rim looks like nothing.
At home, it interrupts the one habit you repeat most.
Undermount is the fix for most counters, and a flush-mount or tile-in sink works for laminate. If you must keep a drop-in, choose one with the thinnest rim you can find and seal it with a bead of clear silicone so crumbs stop collecting in the lip.
23. Betting on an Unreliable Touch Faucet

Touch and touchless faucets feel like magic when they work. Tap the spout with a floured wrist and the water runs.
When the sensor fails, though, it’s maddening. Some flicker on and off, some go dead within months, and you’re stuck troubleshooting a faucet.
If you want one, buy from a brand with a real warranty and a battery pack you can actually reach.
A dumb faucet never has a bad software day.
Touch and motion faucets live on batteries or a plug under the sink, and the sensor can misfire when a hand brushes past. If you want the convenience, buy a model with a manual override and a solid warranty, and keep a spare battery pack in the drawer.
24. A High-Maintenance Polished Finish

Polished chrome shows everything. Every fingerprint, every water spot, every splash.
You’ll be wiping it down all day just to keep it looking clean.
Brushed nickel and matte black hide smudges far better and forgive hard water. Same faucet, far less fussing.
If you don’t want another thing to polish, don’t buy a mirror for your sink.
Brushed nickel, spot-resist stainless, and matte black all hide fingerprints and water spots far better than polished chrome or polished nickel. If you are set on a bright finish, keep a microfiber cloth at the sink, because wiping it dry after each use is the only real fix.
25. A Pull-Down Sprayer That Never Retracts

The spray head should snap back into the spout on its own. In a lot of kitchens it just hangs there.
The culprit is almost always the counterweight under the sink. It slides down the hose, and if it was clipped too high, or the hose catches on the supply lines or a drain trap, the head stops short and droops. A heavy head on a cheap hose does the same thing within a year.
You end up pushing it back by hand every time, and the dangling head drips on the counter.
Slide the weight to the lowest point of the hose loop, clear anything the hose can snag on, and pick a faucet with a magnetic dock. The magnet does the last inch the weight cannot.
26. No Protective Grid in the Bowl

A stainless sink without a bottom grid looks ten years old in six months.
Every cast iron skillet, every stack of plates, every dropped knife lands on the bare bowl. Stainless scratches, fireclay chips, and granite composite dulls where pans slide across it. The grid lifts all of that an inch off the bottom and lets water drain under the dishes.
Most sink makers sell a grid cut to fit the exact bowl, with a gap over the drain. Generic ones work too, as long as the feet are coated.
It is a thirty-dollar part that protects a sink you paid hundreds for. Buy it the same day you buy the sink.
27. Forgetting the Holes You Will Want Later

A single faucet hole looks clean on the day the counter goes in.
Then you want a soap dispenser, a filtered-water tap, an instant hot-water spout, or an air gap for the dishwasher, and drilling a finished quartz or granite counter means a diamond core bit, a contractor, and a real chance of a crack. Many homeowners just live without.
Plan the holes before the counter is cut. Three or four is normal, and unused ones hide under a matching cap for a few dollars.
Decide now which add-ons you will actually use and give each one a hole. The counter only gets cut once.